Thursday, December 20, 2012

Happy Holidays!

The holidays are upon us and along with them comes cold, snowy weather.  The good news is that all the plastic that we put up around the outside of the house is working.  It keeps most of the wind and snow out and makes for a decent space in which to work so the work is continuing.  All be it more slowly.  It's still cold so afternoons are just about the only time comfortable enough to get out there and work.

We have started on phase 2 of the walls.  In order to continue stacking bales, boxes have to be built to go over the doors and windows.  That's what we are currently working on.

First we attached chicken wire from the bond beam to the soffits.  This will help hold the straw in place as a lot of it at this stage will be flakes. (This was subsequently covered with plastic. We found that the wind - and some snow - was being blown in and the sound of the wind through the chicken wire made it sound like a hurricane was blowing outside.  The plastic stopped that!)

This is one of the boxes ready for instillation.

Here it is installed over the bedroom window.

While we are doing that, our electrician, Samuel, has started running the wiring.

Pretty exciting!

This time last year all we had up was the large adobe wall.  It looked more like an adobe ruin than the beginning of a house.
It's looking more like a house now!


Thursday, December 6, 2012

Straw Bale Walls - Phase 1 - Done

During the last week we have continued stacking bales and the first phase of the walls is done.  Bales are stacked up to the bond beam throughout the whole house and plastic has been stapled to the rest of the exposed outside walls.  We are ready for winter!


One of the things I wanted to incorporate into at least one wall was colored bottles.  I have been saving square olive oil bottles for a while.  They're a lovely dark green and I thought they would look cool in the straw bale wall next to the big adobe wall.
First I taped two bottles together with duct tape.

Then, to give them some rigidity I taped flashing around them.

They were then placed between two bales.
You can see their placement in the photo below. I'm not sure how much light will shine through as they are so dark, but I like the way they look and I think they will be lovely once the walls are plastered.

This is a panorama.  I'm standing in the NW corner of the living room.  Bedroom, kitchen, bath to left. Studio and office on the right.

Here's a view from the attic above the garage.

Next

A few things need to happen next. First we need to construct boxes to go above all the windows and doors on which bales will rest.

Second we need to decide just how and where the internal walls and ceilings will go. Since the footings for the internal walls have not been dug (a winter project) we will lay them out so that we know where they are going. Once we make those decisions, we can start stuffing bales between the roof trusses and above the bond beam. We will leave the areas where there will be ceiling joists attached open. Once the internals walls are framed and up, we can then finish those areas.

The other thing that needs to be done is the wall between the house and garage needs bales all the way up as does the gable end.

In addition to establishing the internal walls and digging footings for them, we also must dig trenches for the plumbing. Tasks that can be done while the winter snows fly.

And - oh yes - the electrician is scheduled to start wiring the house next week!

Wednesday, November 28, 2012

One Bale at a Time

Work continues at a nice steady pace. I must admit, though, that I have to keep telling myself that it's not a race and that I can take my time. I'm not as young as I used to be and pacing myself is a must.

Here's a gallery of photos of work done to date.
The Straw Boss - Rick after a day's work.
The living room

Rick notching a bale.

North wall

Expanded lath tying the north wall to the garage wall.
Walls going up in the garage.

The garbage bags are full of loose straw. The bales are so tightly baled that when a notch is cut, there's LOTS of loose straw. We are bagging it up to use in the plastering (and mulching of garden).

Looking into the garage

Starting on the east wall. Plastic will soon be added to the outside of this wall.

A couple of things learned about stacking straw bales

The first thing we learned when we started stacking the bales is that they come in all different lengths. They AVERAGE 36" long but vary from 31 to 41".  When Rick designed the layout for the bales he based it on 36" long two string bales. Needless to say, with all the different lengths, the bales don't fit like he planned which means we've been doing a lot of notching and splitting of bales.  We're getting pretty good at it! We bought a nifty cordless chain saw which we thought would make the bale notching task easier but we've found that what we're really using is a good old bow saw.

The bale needle I found on line has also been an invaluable tool. 

Another thing learned:  Wear a mask and cover up as much as possible! Working with bales is dirty, dusty work!

Not to be outdone, Tex decided he wanted to play with straw, too.  Luckily the bale he decided to play with was an old one. Looks like he had fun, though, doesn't it?


Tuesday, November 20, 2012

Finally - Stacking Bales!!!!

Soffit vents are done and preliminary window framing is installed so FINALLY it's on to stacking bales!
Window framing.


On November 14th, almost one year to the day from setting our first adobe block in place, we placed our first straw bale!  This has been a LONG time coming.  Rick and I first started researching straw bale building close to 15 years ago.  We worked on three straw bale homes in San Diego and have spent a lot of time dreaming about building our straw bale home.  It feels wonderful to FINALLY be stacking OUR bales!

First bale in place!


Bales in the corner of the office.

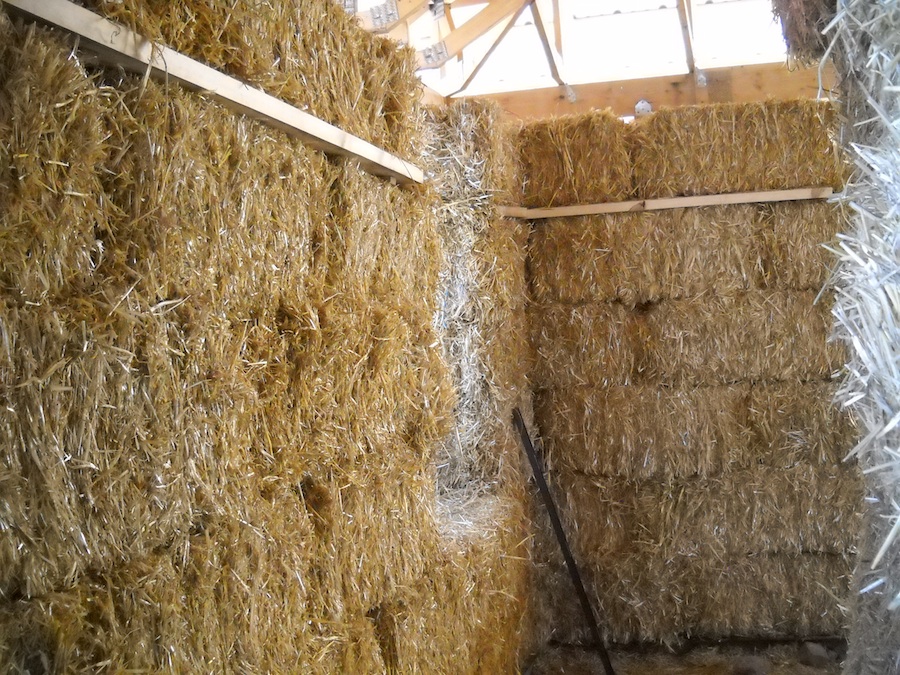
To attach the bales to the posts we are using expanded lath stapled to the posts and attached to the bale with a landscape pin. This is done every 3rd course or so.


Here's the corner with the trombe wall to the left.

We wanted to be able to hang art and shelves so I came up with the idea of inserting 2 x 6s between courses.  The boards are attached to stakes that have holes drilled in the end.  The ends of the stakes are slipped under the baling twine and then a landscape pin is used to secure the stakes to the bales.

Here's what it looks like installed with another course of bales on top. Plaster will come up to the 2 x 6 at the top and bottom. The board will then be stained - probably using natural dyes.  This will go all around the house and will give us a good solid place from which to hang things.

This is the corner of the office where my desk will be.

This will be my window and will give me a view of the Pedernal.

This is looking north.  I'm standing where Rick's desk will go.  His window is just to the left there.
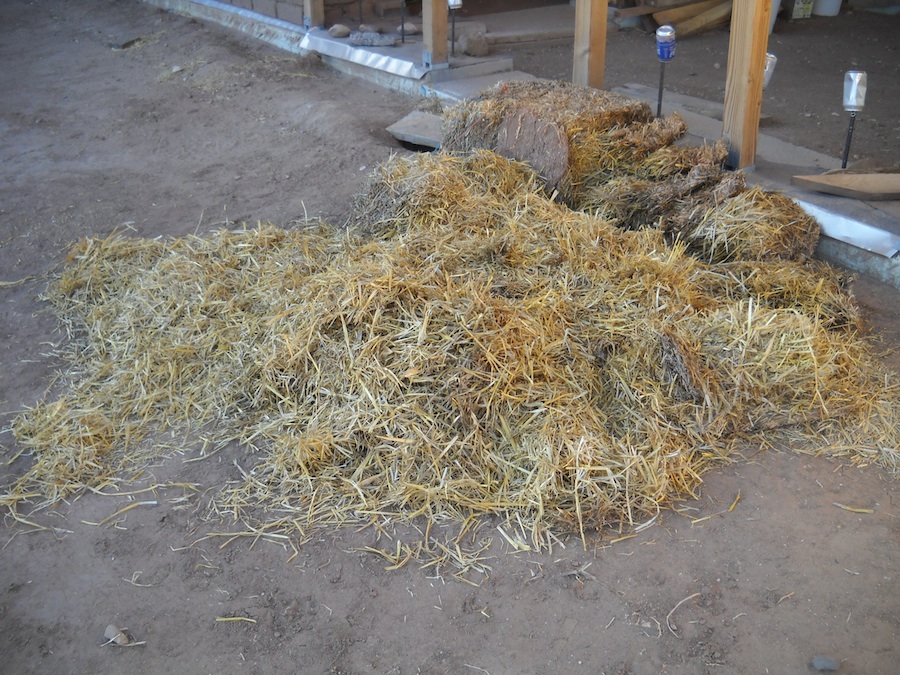
Splitting Bales

Just like when laying adobes, some bales need to be split.  We got a nifty bale needle to help with that process.  The needle is about 3 feet of steel rod that had a notch and a hole in one end and a wooden handle on the other.
Here's Rick threading baling twine into the bale.

He then pulls the new twine around and ties it on each end.

Once the new strings are tied, the old strings are cut.

You now have two bales of what ever size you require.  


Work to date.

Being at this stage feels a little surreal to me. I really can't believe that we are actually stacking bales in OUR house! We thought the house would start to feel smaller as the walls go up but what we are finding is that what it really feels like is - enclosed. There is still a huge pile of bales in the "studio" but it's gradually getting smaller and the space is starting to feel like a house.


Wednesday, October 31, 2012

Winter is Coming . . .

Here it is the last day of October - Halloween! - and while so far this fall we've had very mild weather (except for a short cold snap) winter weather is not far away. All through the roofing process it was my hope that we could finish the roof and get the straw bale walls up with at least one coat of plaster before the arrival of snow so that we could have a nice enclosed space in which to work through the winter months. Pressure!!!!! This time of year the weather can turn very quickly. I really didn't want to get into the process of putting up the walls just to have the weather turn really cold and snowy. But, at the same time, I REALLY want to be able to work through the winter. What to do!!!

We decided to wrap the whole house with plastic which will not only protect the stored bales and give us an enclosed space where we can work out of the weather but it will also allow us to put up the walls! A couple of years ago we were give a ton of plastic that had been used to wrap another house.  We have kept it stored and protected and now we have put it to good use! (I'm sure all the locals are wondering what those crazy gringos are up to now <G>!)

The prevailing winds and winter storms come mainly from the west and north so we focused on those two sides.

Here you can see all of our bales stacked and protected.


We haven't decided whether we will enclose the east and south walls yet as the odds of getting blowing weather from those directions is very slim. However, I did put plastic in the windows of the adobe wall to keep the inside of the wall and all the windows stacked there dry.

Now I just hope that the plastic is strong enough to withstand wind and keep things protected for the next 5 or 6 months - until spring.

The other thing that we are going to do is put a cement and rock splashback that will be about 16 to 18" high all around the base of the house. That's what that pile of rocks is for. I have started collecting them from around the property. There's always something to do!

The next steps are to finish the soffit vents and build window bucks. I'm gonna stop writing now and go get to work!